5 Biggest Tips to Improve your Photography FAST: Lessons I've Learnt

It's been 8 years since I got my first DSLR camera and about 5 years since I started taking photography more seriously, but it took me quite a while longer before I actually considered myself a freelance photographer.
Looking back on my early learning stages, there was SO much I could've done to accelerate that learning curve, but pride and money got in the way.
While I have endless passion and enthusiasm for photography, time does not come in abundance. Self-learning can be so frustrating when progress is slow.
That’s why, in this article, I want to share with you the 5 biggest lessons I've learnt through my own journey, to help YOU improve and fast-track your photography skills!
CONTENT:
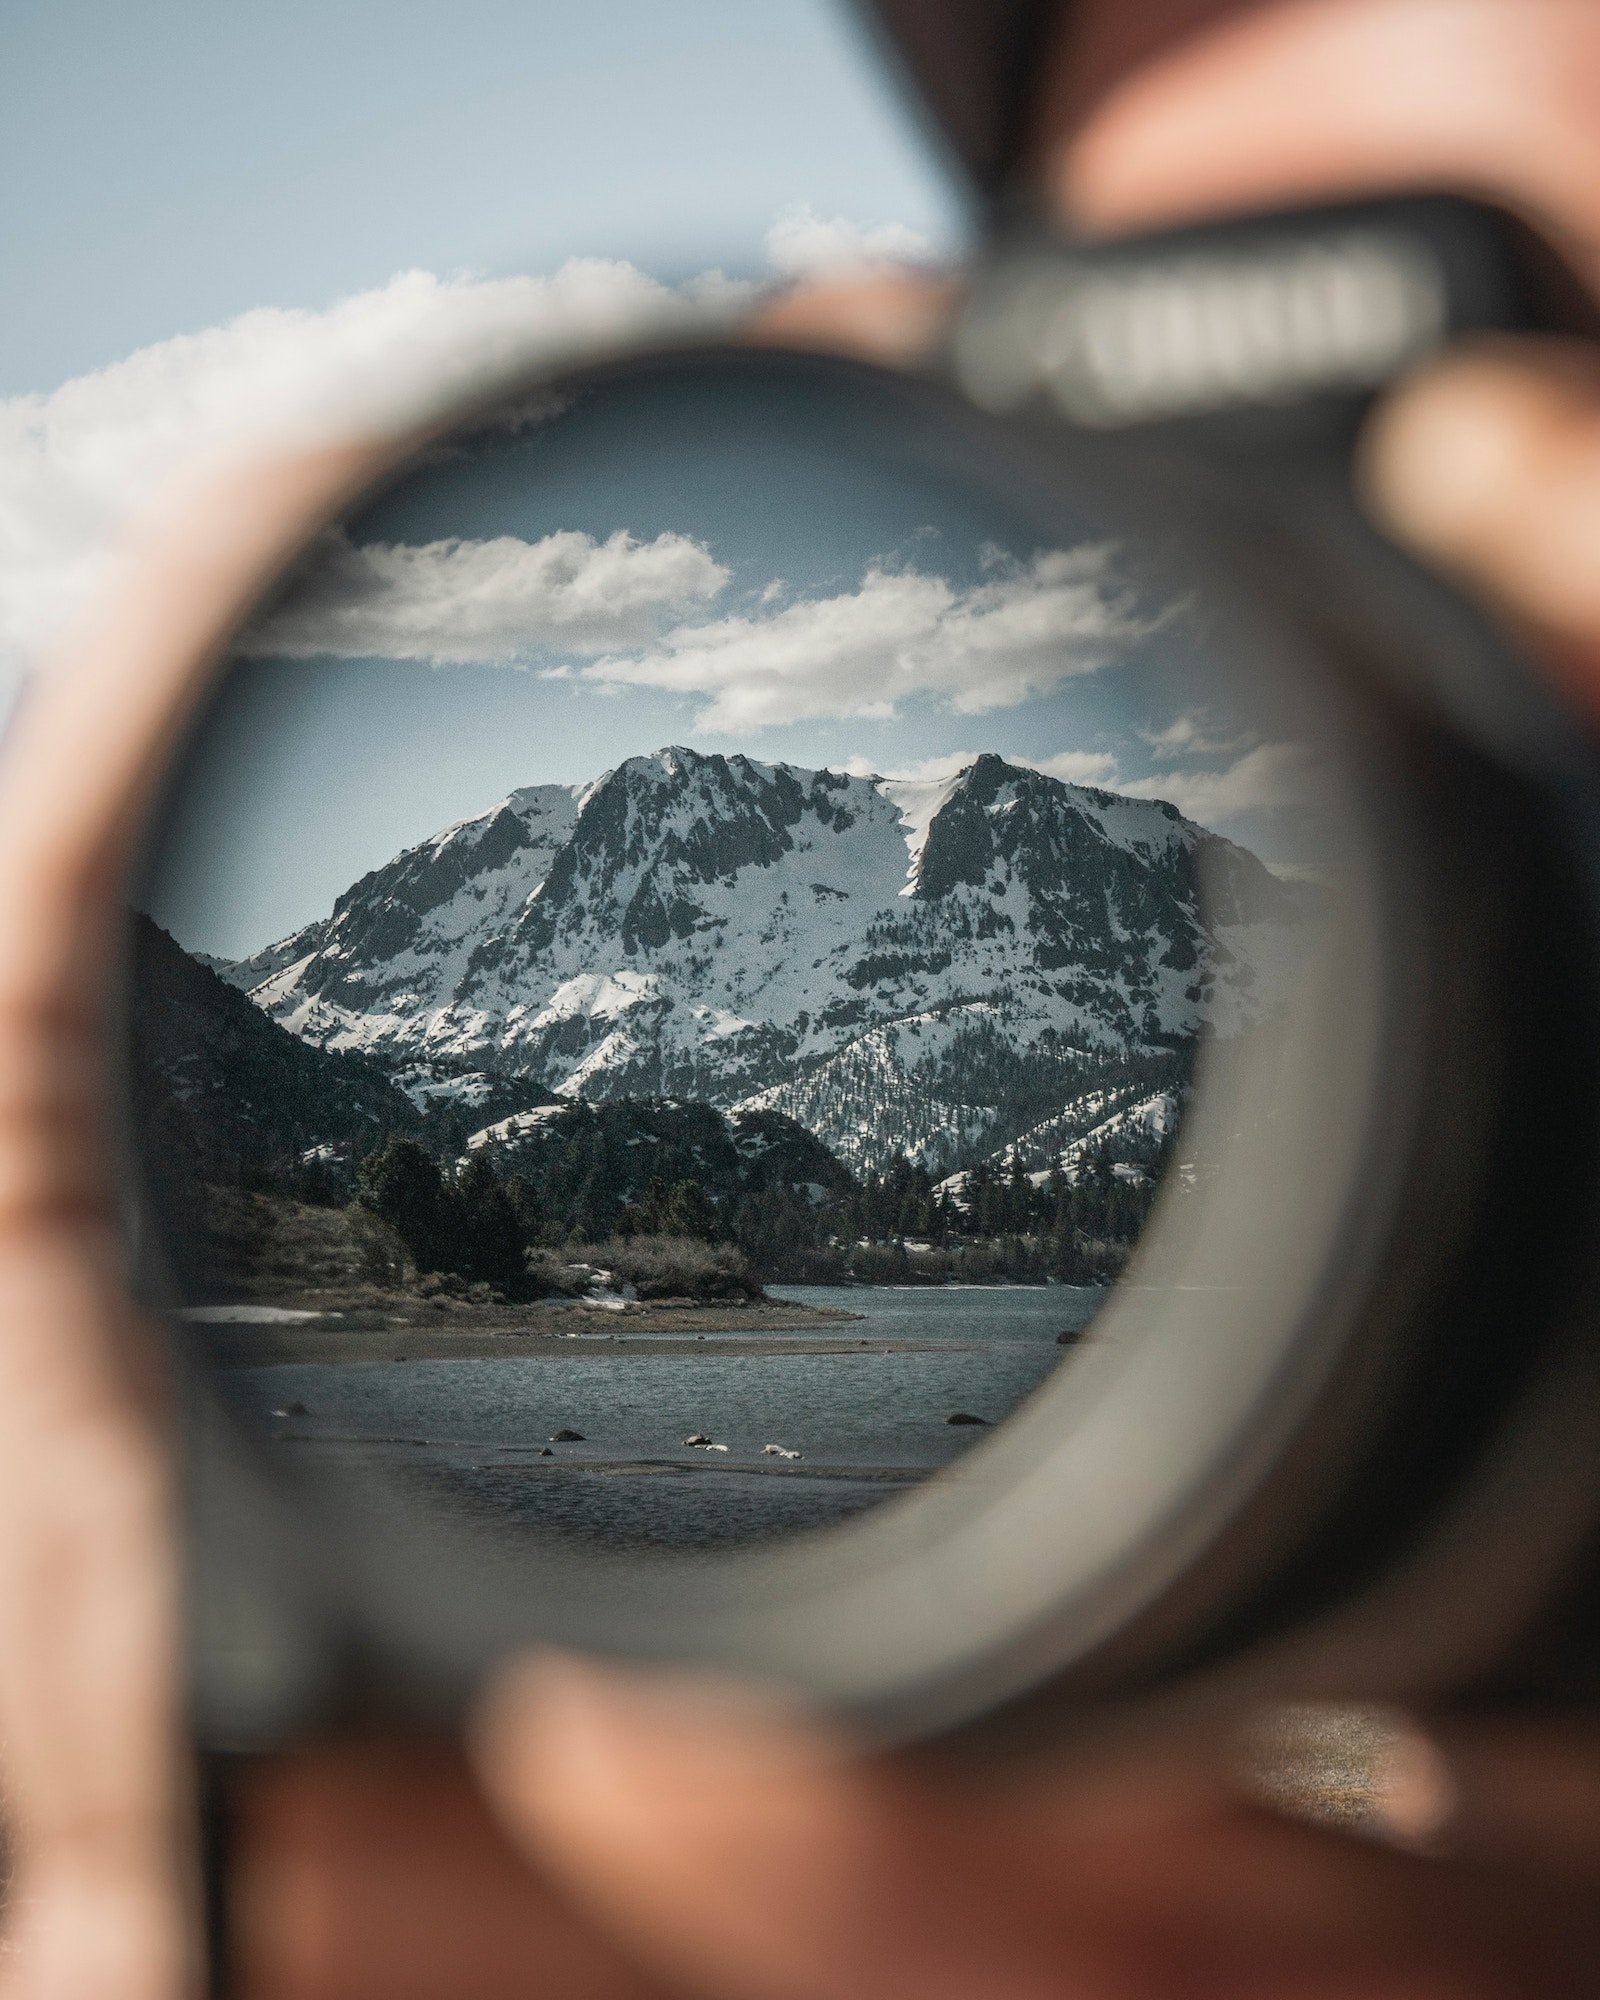
Invest in high quality gear - why kit lens are NOT enough long term
Never stop learning: watch videos and take courses
Editing makes or breaks your images: why I switched to Lightroom
Always shoot in RAW - why JPG isn't enough
Use Presets - why and how most professionals edit with presets
1. Invest in high quality gear - Why kit lens are NOT enough long term
Photography is an expensive hobby if you want to take it seriously. Most lenses cost more than the actual camera itself, which is SO crazy but here's the secret... it's the lens (not the camera) where the magic happens.
In fact, my biggest regret was having taken SO LONG before I finally decided to invest in a non-kit lens. My excuse was that they cost too much (and rightly so, usually 500€ +), but I also told myself that I don't need fancy lenses to be a good photographer! That is partly true, partly false.
It was for my mother's wedding, when I finally took the leap and invested in my new Sony 35mm Prime Lens (RRP ~ 500€). And you know what? I was kicking myself for not having done this SOONER! The creamy bokeh at f1.8 was so beautiful, I could cry!
Different lenses give you new perspectives on your subjects and allow for more creativity with your compositions - and THIS is what ultimately sets photographers apart and makes your photos truly unique.
I honestly feel that my photography game improved so much because of the new ways I had to compose my shots with this different lens.
There are so many things to think about when investing in your photography gear, so I created a list - especially for those who travel a lot : 9 Lightweight Photography Gear & Equipment - I wish I’d invested in earlier
2. Never stop learning: watch videos and take courses
Don't reinvent the wheel. Don't let your pride stand in the way of your learning or prevent you from asking advice from experts in your field. Don't let money be the excuse that you can't invest in yourself and your dreams.
You become the best by spending time investing in your passion. If you don’t sacrifice for what you want, then what you want becomes WHAT you ultimately sacrifice.
Jay Shetty
There is SO much information out there - both free and paid, so take your pick. But personally, I find that I get so much more from PAID courses than free Youtube Videos.
Also paying for courses is not cheating, it's not that you're not smart enough to have learnt it on your own - in fact, investing in courses to accelerate your progress, save time, up your skills, and learn from experts IS actually the SMARTER thing to do.
Here are some of my favourite photography resources, which I can highly recommend:
Photoshop for Photographers by Visuals of Julius (Paid Course)

Screenshot from my dashboard: Visuals of Julius’ Photoshop for Photographers Course
3. Editing makes or breaks your images: why I switched to Lightroom
Think of editing as the artists interpretation of the scene/photo. The act of taking the photo is simply a sketch on the canvas. You can give anyone the same camera and tell them to stand in that exact same position and take the same photo - that's not art.
What IS art, is how each individual person edits their photos and brings emotion to life - just like how each painter would paint the same sketch on the canvas differently. It's how you use your colours and interpret the mood with shadows and light, which ultimately tells your visual story in a unique way.
In digital photography, the quality of your editing software really matters. I could see and feel a huge improvement in my photography after finally switching to Lightroom and Photoshop from the various cheaper editing softwares I was using.
But firstly, you have to know how much I RESISTED using Lightroom and Photoshop for YEARS! Why? Because it was too expensive I told myself. I found and used every free editing software I could and my photos turned out ok-ish? They weren't great, by they did the job.
Secretly though, I had always longed to try Photoshop and Lightroom, but I was scared to make the leap. What if it's SO good, I could never go without it? Well, spoiler: that's what happened!
Thank you to my friend Peta, who so generously shared his ADOBE account with me. If it weren't for him, I'd still be struggling with editing my photos. Before that, I was using Polarr - which only costs $3-4 per month. But Adobe's Lightroom + Photoshop only costs me $9 per month!!!
For an extra $6 a month (that's like 1.5x coffees), I had the opportunity to UP my editing game with the world's top editing software. So, take it from someone who has tried ALL the free and cheaper softwares out there (Polarr, Picktorial, Snapseed, Luminar) - try out Lightroom, you won't regret it!

Lightroom Classic ALL the way!
4. Shoot in RAW - why JPG isn't enough
Even to this day, I'm still kicking myself for not having shot in RAW from the start! Looking back at some earlier photos that were only taken in JPG, I could have easily salvaged the shadows and utilised the extra colour information to create something beautiful and professional from it... if I'd shot in RAW.
Back then, I didn't really edit my photos much, plus my laptop was filling up fast - so adding 20MB extra per RAW photo was pure craziness. I simply didn't need it - not then. But future-me would have definitely benefited if I had listened to all the expert photographers out there!
Here are 3 main reasons why you should shoot in RAW:
you can bring back more shadows because RAW files contain more information.
you can also bring back more of the colour details, especially at sunset or sunrise
you can take your photo in more creative directions than with JPG

Unedited RAW (left) - vs - Edited RAW (right)
Let me explain that last one. So a RAW file contains a whole lot of extra information which you can't see, but is embedded in the RAW file itself. Whereas JPG is essentially "what you see is what you get" and has deleted all the extra back-end information in order to save space. Thus, you have less room to play around with various creative elements.
The biggest problem people have with shooting in RAW are STORAGE and EDITING. Here are my proposed solutions:
invest in a 2TB external Hard Drive (like this waterproof one) AND an iCloud Plan (mine is 2TB for $9.99 a month). This way, you will always have a hard copy back up and a cloud back to store your RAW photos.
many cheap editing softwares don't support RAW files. I would highly recommend trying out Lightroom and Photoshop, they are the BEST editing softwares for RAW files I've ever used.
PS. RAW files are suppose to look flat and boring. Because YOUR job (as the artist), is to bring life into the image through your own interpretation. Trust me, you can bring out SO MUCH MORE from a RAW file than you first though possible.

Unedited RAW (left) - vs - Unedited JPG (right)
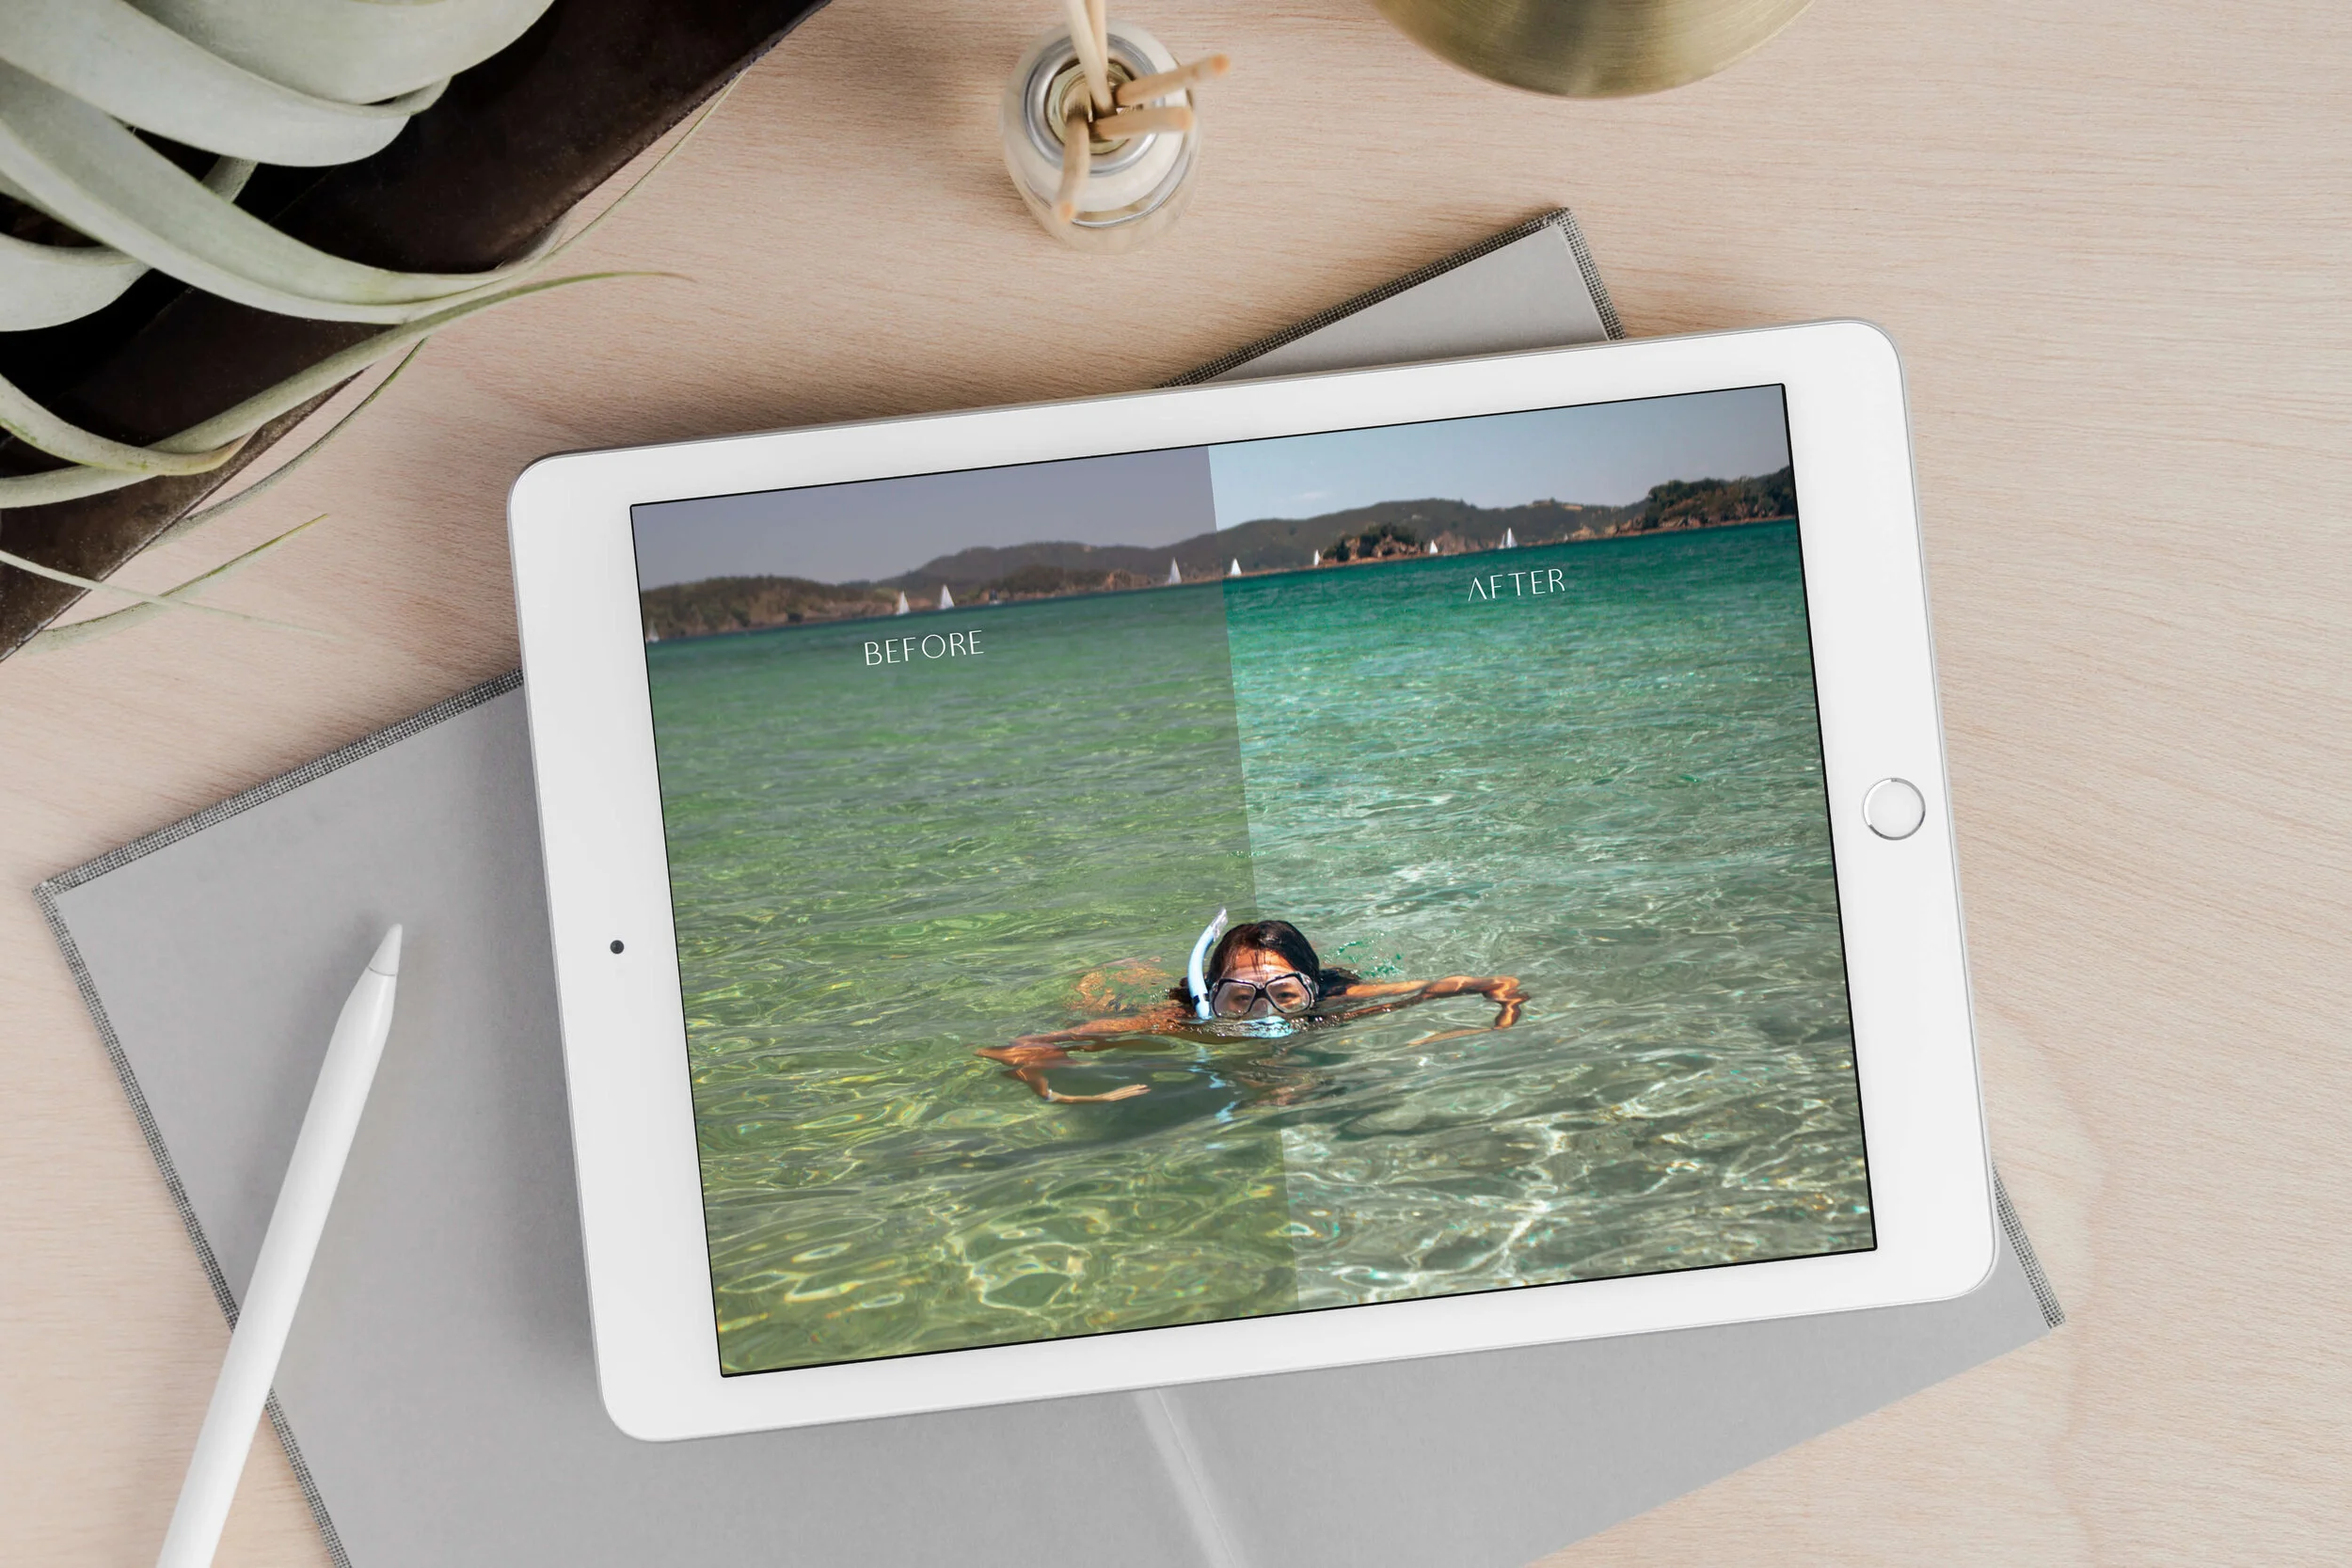
5. Use Presets - why and how most professionals edit with presets
Last but not least - one of THE MOST controversial topics amongst Photographers... ARE PRESETS GOOD OR BAD? Ooh I love controversial topics and here is my perspective...
Presets help SAVE TIME and CREATE CONSISTENCY in your photos by applying the same settings, to which you can then further TWEAK to your heart's desire.
Let's be clear about one thing: I don't endorse ONE-CLICK preset edits unless I'm editing on the fly and it's good enough for an IG story - or if it's to make a point that you can transform your photo from that —> to this in just one click. But there is always something more you can tweak.
If I'm editing a photo for physical prints - then I will usually spend a lot of extra time tweaking and editing. However, if it's a photo series for a client or project, then I want to keep a consistent theme - and that consistency is usually found in the tonal curve, split toning and HSL tools.
Imagine how much TIME you would spend on each and every photo for a series if you had to individually edit them (without presets) and how UPSETTING it would be when you realise at the end, that they don't have the consistent cohesive look you were hoping for? That was me a year ago!
Since then, I've learnt to edit smarter and better. Using presets is NOT cheating. It's smart and efficient. It's also a tool. You don't have to use it all the time, but if and when you need it - well, it's there to help you!
My Free LR Preset called: Optimism
And that, my friend, is precisely why I'm sharing my mobile LR presets with you for FREE! Go ahead and tweak as much as you like, then save it as your own preset! In fact, I encourage you to create multiple versions of your own from my presets, because in the end, I created them so that they serve YOUR needs and to help you edit faster and better.
You can find some extra free photography resources here, such as:
Happy editing creative humans! I hope you were able to come away with some insightful tips - and if you do have any questions for me, feel free to comment below or send me a DM @emilypeilan .