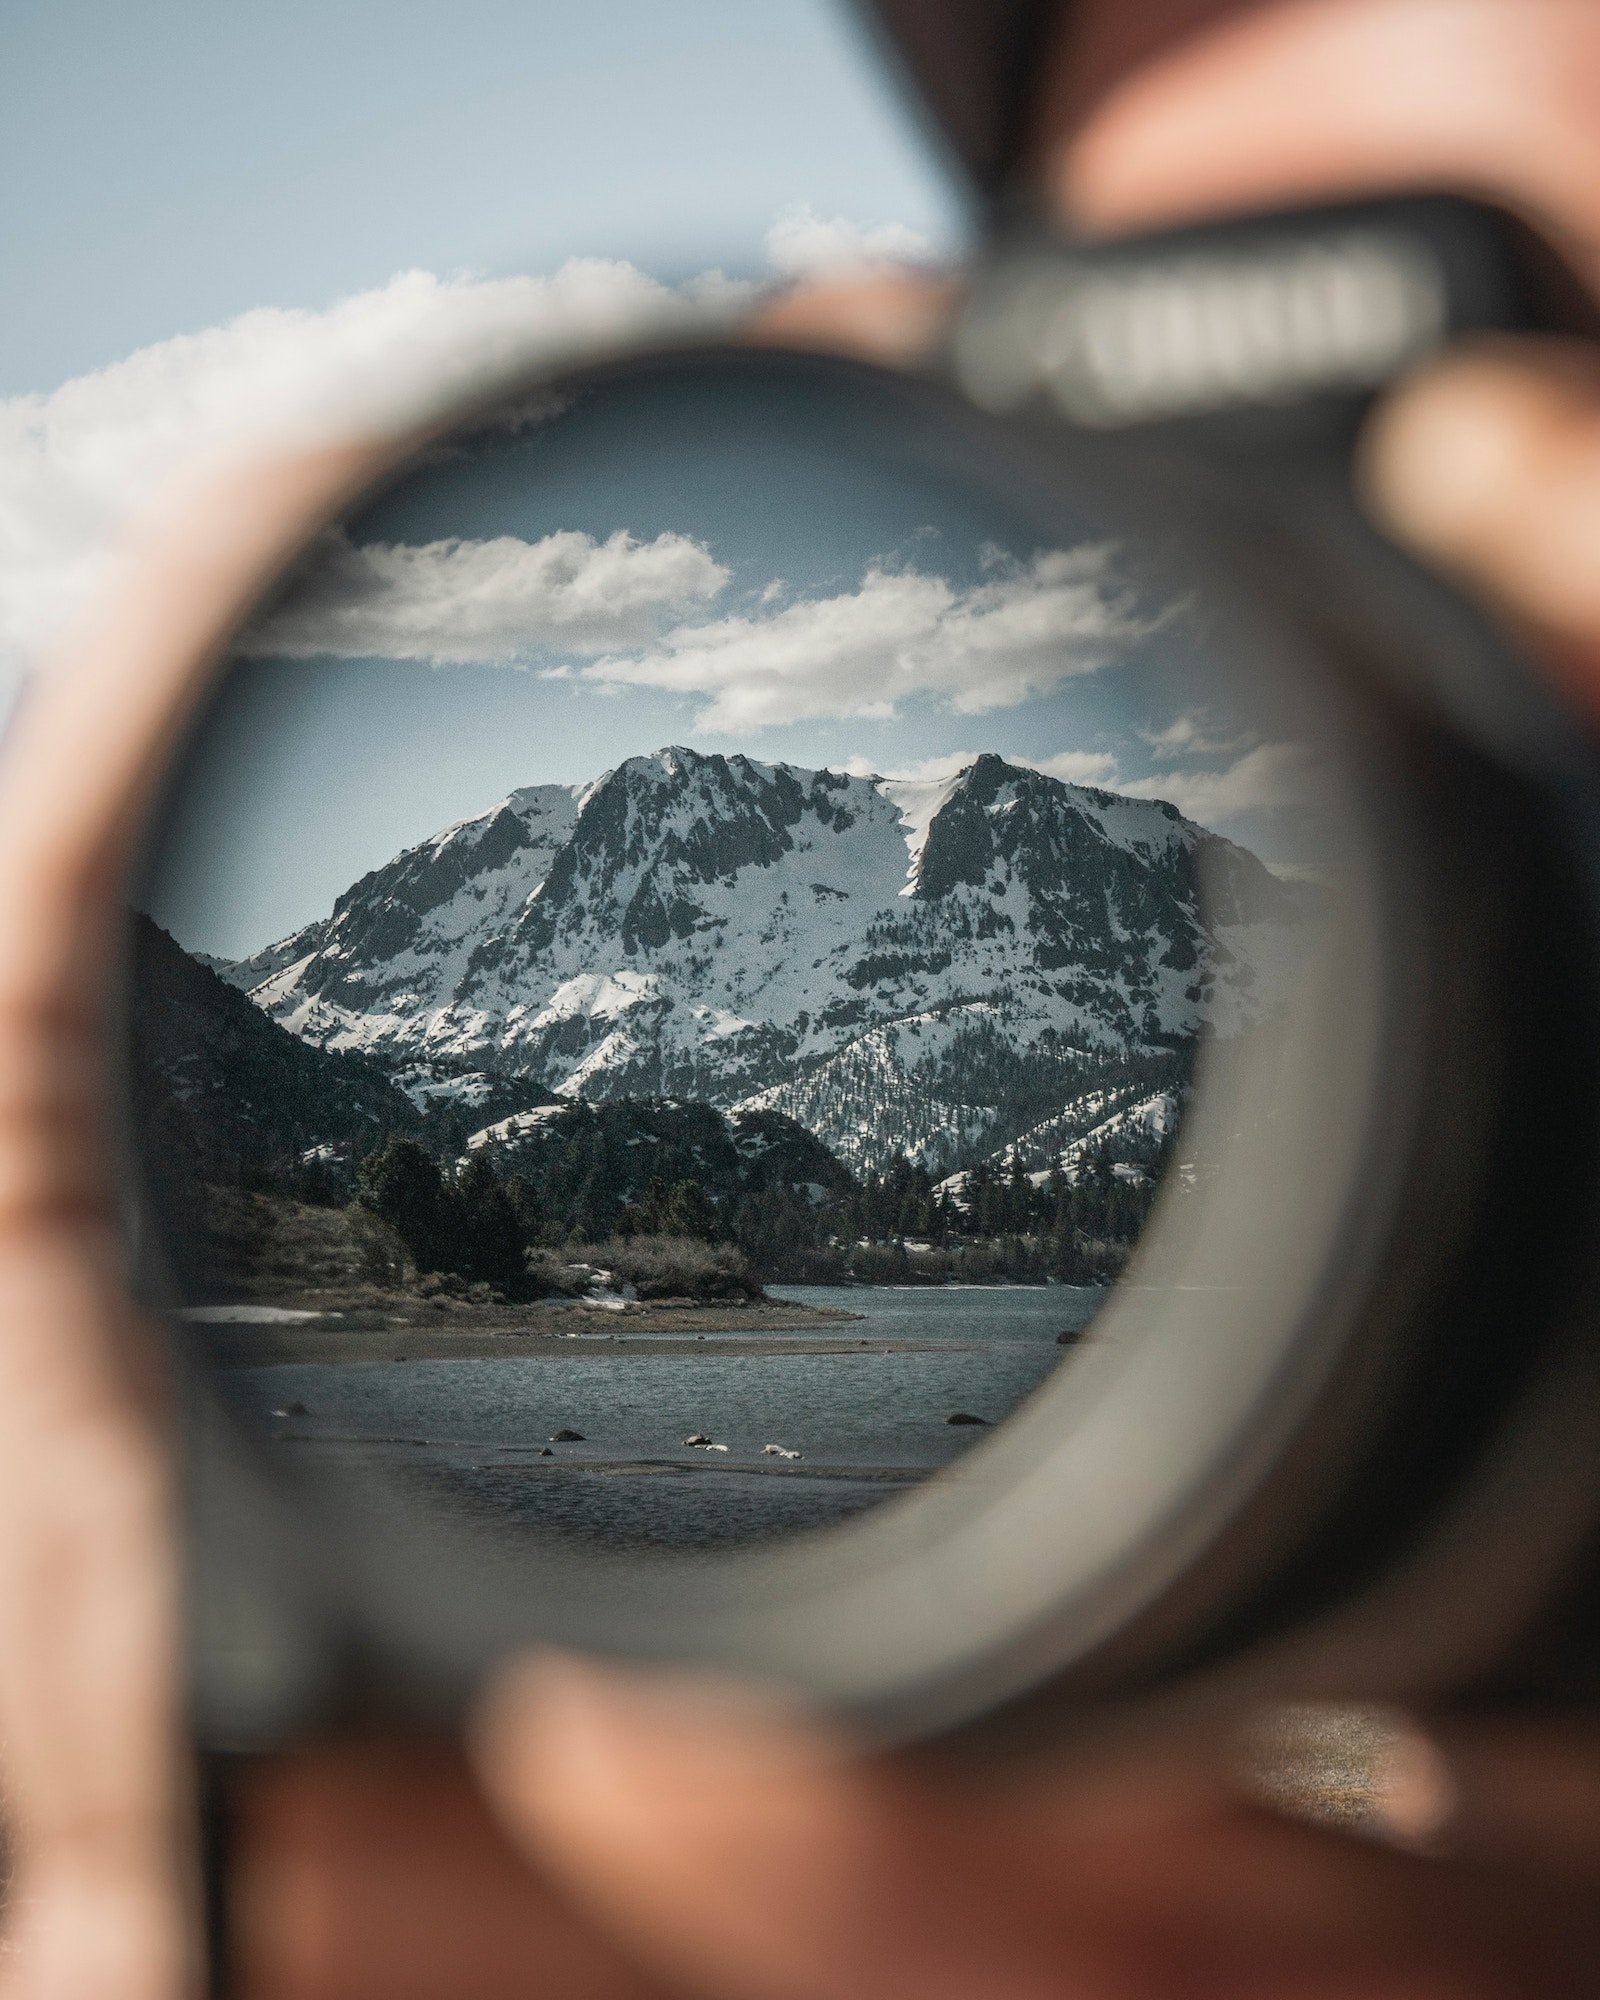
How to salvage badly taken photos with these editing tips

Let's be honest, we've all had those awkward moments where we ask a stranger if they could take a photo of us, and they oh-so-kindly oblige. They click away, then ask you if it's ok.
You take one look and your creative eye wants to vomit because "HOW did they get the composition SO wrong?" - but you bite your tongue, smile back and thank them kindly for their time.
Before I go on, I just want to say how immensely grateful I am that people even stop in the first place and are so kind about helping me take some photos.
It just happens to be that we had different perceptions about what a 'good composition' is - and that's ok.
But now you're wondering if you should try your luck again and ask someone else? Or just suck it up and try salvage that awkward photo?
Let's say you have an avoidance personality (like me) and opt for the latter...
Good news is, you can absolutely salvage badly taken photos!
And in this blog post, you'll learn which photos can be salvaged and which cannot. Plus, how to fix up the salvageable ones using the Crop & resize tool, photo presets and advanced LR tools.
CONTENT:
What makes a photo a bad photo?
How to figure out which of the 'bad photos' you can save?
Using the Crop Tool to resize and save a bad photo composition
Using Presets to remedy poor contrast and colours in a photo
Advanced LR tools to polish up the photo.
1. What makes a photo a bad photo?
Let's quickly define what a GOOD photo is first and then we can work down the spectrum, shall we? So we all know that saying:
Beauty is in the eye of the beholder.
Well, art is all about perception. There’s no right or wrong, simply a spectrum of preferences. So good photos weigh on the right side, which happens to coincide with what the majority of the population prefers in a photo.
And bad photos simply fall into the left side of this preference spectrum - meaning that very few people share this preference in style.
For example: in that scenario above, the stranger taking the photo might have preferred a wide angled perspective, taking everything around me in, including my feet and the man eating his pie waaaaay on the left. Whereas I prefer a closer up shot of my mid-section body and the view behind me.
Another example could be when an iphone photo is too bright or too dark because of where the person decided to tap and focus.
So with this spectrum of perspective in mind, here are a few things that make a photo 'bad':
bad composition: waaaay to zoomed up or a badly framed subject
over-exposed: too bright that you can't see a lot of the details
under-exposed: too dark that you can hardly make out the details
unfocused or blurry photo: from slow shutter speed or fast movements
too blue or too orange: from incorrect colour temperature settings

2. How to figure out which of the 'bad photos' you can save?
Now, there are a few ways to go about saving bad photos. But unfortunately, not all photos can be saved and I'm about to go through that list above and tell you why:
Bad Composition: Salvageable most of the time!
If the photo is slanted or didn't exactly follow the rule of thirds, but still completely captured the subject... that's ok, we can work with that. And I'll show you how in the next section!
But if you wanted say, your entire body in the photo and the person cut you off from the hip up... then I'm afraid not even Photoshop could do a good enough patch work on that.Over-exposed: Salvageable to an extent
Depending on how over-exposed the photo is, you can most likely bring the highlights and exposure back down and salvage the details.
However, the problem with over-exposing and having harsh highlights, is that the details have already been lost to white light - so sometimes even bringing down the highlights cannot salvage the photo.Under-exposed: Salvageable most of the time
Under exposing your photos isn't great, but... it is MUCH better than over exposing your photos because you can still bring a lot of details back by playing around with the lighting.
The only times when you can't salvage an under-exposed photo is when it's so dark that the details have been lost to the blackness.Unfocused or blurry: very hard to Salvage, if at all
Unfortunately, you cannot unblur a motion-blurred photo - at least, not that I know of yet! So this is one instance where you're just gonna have to scrap it or... go with it and try make it a cool blurry photo... if you know what I mean?
You can make the motion blur look intentional or artsy by making it Black and White, desaturated or a rustic film look.Too blue or orange: Salvageable (surprisingly!)
Usually what happens is that the wrong White Balance mode got set. Perhaps you're shooting indoors and forgot to change it into Florescent Mode, or maybe you're shooting outside and forgot to switch back to Daylight mode?
Whatever it is, this is quite easy to fix in any editing software by simply playing with the Colour temperature tools! More on this soon!

See how cool and creative this unfocused motion blur is once you pair it up with an old vintage film look?
Photo by: Daria Magazzu
3. Using the Crop Tool to resize and save a bad photo composition
Every photo editing app or software will have a Crop tool. So go ahead and hit that crop button.
Here are 3 tips for cropping your photo to improve the composition:
Rule of thirds
You see those grid lines on your cropped version? Try and find a subject to centre in one of those thirds. I find this really helps keep this spatial balance in the composition.
Pro tip: if you're on LR Classic, hit R for crop and to pull up those grids!If it's landscape, make it portrait or vice versa
Before you scrap the photo as 'un-crop-able', try switching it to landscape or portrait and see how the composition changes. Play around with this and the rule of thirds to find that perfect balance - et voilà! This has saved so many of my lop-sided photos taken by strangers!
Pro tip: if you're on LR classic, hit R for crop + X to alternate between landscape and portraitAlternate between unique composition grids
If you happen to be on a more professional editing software like Lightroom, then you'll most likely have access to a variety of unique composition grids outside of just the plain ol' grids!
Pro tip: if you're on LR classic, hit R for crop + O to alternate between all the unique composition grids!

Golden Spiral Grid Composition in Lightroom
Photo I took at the famous Zakynthos Shipwreck Beach
4. Using LR Presets to remedy poor contrast and colours in a photo
You can either fix up the contrast and colour in a photo with 30+ clicks and 15 minutes later... or just 1 click. Here are some of my tips for using presets to remedy photos:
use soft presets to rebalance the contrast - soft presets usually focus more on the lights, shadows and tonality rather than the colours.
use vibrant presets to bring out the colours - vibrant presets usually have stronger contrast, higher saturation and are more creative with the colour tones.
tweak these base presets and save them as a new preset for next time.
While you're at it, go try out my 3 Lightroom mobile presets for free!
If you've always wanted to try out presets for your travel photos, then you'll love these! Perfect for beaches and summer destinations →

5. Advanced Editing tools to polish up the photo
So I use LR Classic to edit ALL my photos. But these advance editing tools I'm about to share with you can be found on most editing softwares.
White Balance
Go to the White Balance section (WB) of your editing software and you'll find two sliders:
Colour Temperature: where you can choose to make your photo warmer for sunny days (orange) or cooler for those moody mountains (blue).
Colour Tint: where you can add more pink tinge for those fiery sunsets (pink) or more green for that lush jungle forest feel (green)Clarity and Sharpness
If your photo is only slightly blurred, you can head over to the Clarity slider (under Details) and pull that up to create more contrast. Or alternatively, you can pull down the clarity slider to purposely make it look softer and more blurred.
Difference between clarity and sharpness: clarity only shifts the contrast between mid-tones, whereas sharpness precisely adjusts the contrast between each pixel, so it's just a lot finer. Clarity is the one I gravitate to more.Brush tool to dull out non-wanted objects
The brush tool is fantastic for the more selective nitty gritty details and to bring more focus on your main subject.
For example, if there's a bright red bag in the corner of your photo, which just HAS to go... instead of photoshopping it out, you could just select the brush tool, decrease the saturation and then brush over it. It'll still be there, but less saturated and less disrupting.

Just moving the temperature and tint over to the right creates a softer, warmer sunset feel.
BONUS! Love me some cheatsheets!
If you've just started out in Lightroom and you're still navigating through it surely but slowly, then you'll love my free Lightroom Editing Cheatsheet!
These shortcuts are gonna help speed up your editing workflow like a ninja!
And that, my friend, is how to salvage bad photos. Comment below some of the things you've done to try remedy those bad photos and as always, I love connecting with you guys on IG → @emilypeilan
Happy editing you creative human!
More blog posts you might find helpful: